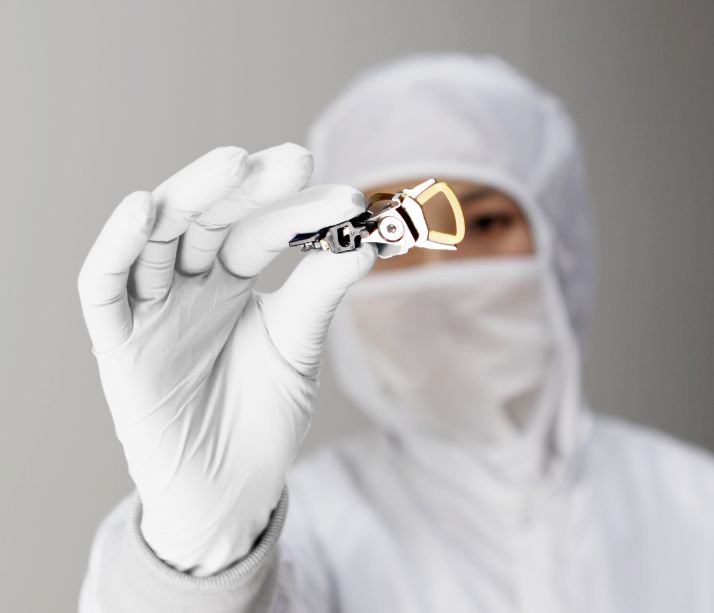
- Classification and introduction of dust-free gloves
- Features of dust-free gloves
- The role of dust-free gloves
- Comparison of the performance of dust-free gloves
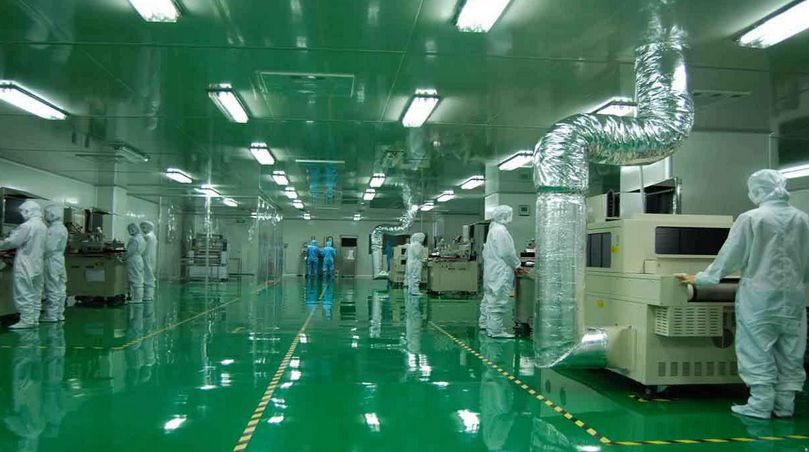
- Application environment of dust-free gloves
- Dust free gloves production process
- Dust-free glove performance test equipment display
- Test methods for dust-free performance of dust-free gloves
Classification and introduction of dust-free gloves
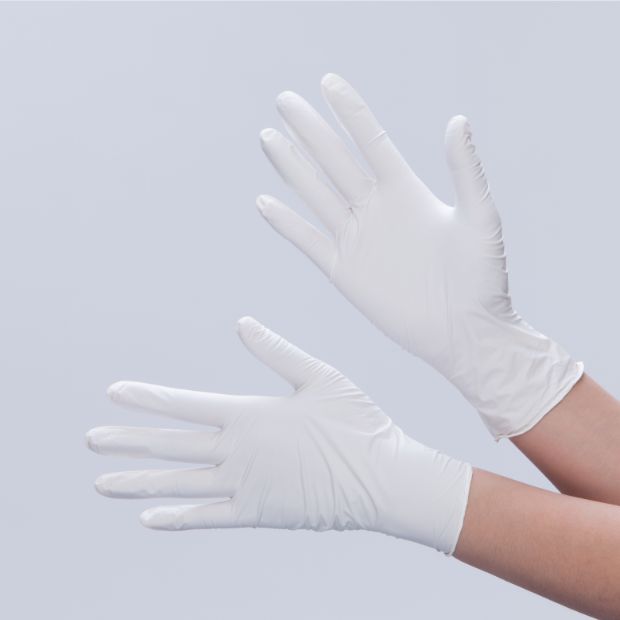
The gloves commonly used in cleanrooms are divided into: nitrile gloves, latex gloves and PVC gloves.
I. Nitrile gloves
- Nitrile gloves are made of 100% synthetic nitrile rubber, processed through a special production process.
- Nitrile gloves are classified as:
- 9-inch nitrile glove
- 9-inch white nitrile glove
- 9-inch blue nitrile glove
- 12-inch nitrile glove
- 12-inch class 100 nitrile glove
- 12-inch class 1000 nitrile glove
- 12-inch powder-free nitrile glove
- 12-inch white powder-free nitrile glove
- 12-inch blue powder-free nitrile glove
- 9-inch nitrile glove
- Nitrile gloves features.
-
- Comfortable to wear, long time wear will not cause skin tautness, conducive to blood circulation.
- Does not contain amino compounds and other harmful substances, will not cause allergies.
- Short degradation time, easy to handle, good for environmental protection.
- Good tensile strength, puncture resistance, not easy to break.
- Good airtightness, effectively preventing dust from escaping to the outside.
- Excellent chemical resistance, resistant to a certain degree of acidity and alkalinity, resistant to hydrocarbon attack, not easy to break.
- Silicone-free composition, with certain antistatic properties, suitable for the production needs of the electronics industry.
- Low chemical residues on the surface, low ionic content, low particle content, suitable for strict dust-free environments.
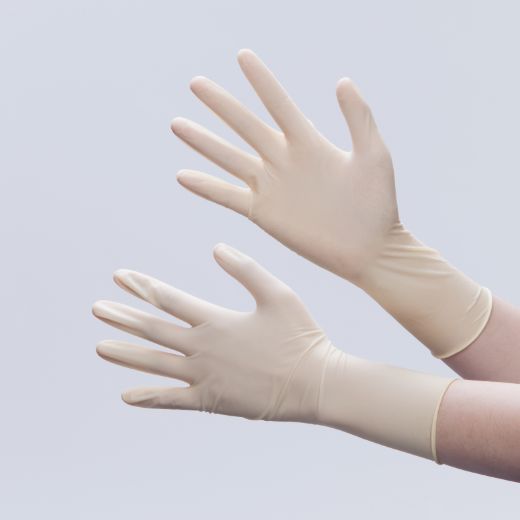
II. Latex gloves
- Latex gloves use natural latex as raw material and are processed through a special process.
- Latex gloves are classified as:
- 9-inch
- 9-inch gloss-finish latex glove
- 9-inch rough-finish latex glove
- 12-inch latex glove
- 12-inch glossy latex glove
- 12-inch non-glossy latex glove
- 9-inch
- Characteristics of latex gloves.
-
- 100% natural latex, good elasticity, long time wearing will cause allergy to some people.
- Comfortable to wear, free from oxidising agents, grease and salts.
- Strong tensile strength, puncture resistance, not easy to break.
- Excellent chemical resistance, resistant to certain acids and alkalis, resistant to some organic solvents, such as acetone.
- Short degradation time, easy to handle, good for the environment.
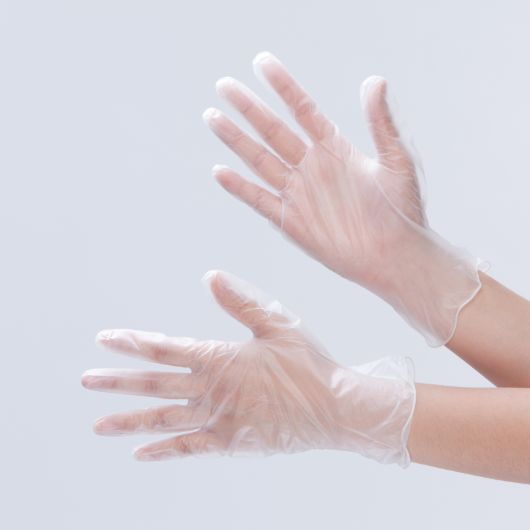
III.PVC gloves
- PVC gloves use polyvinyl chloride as the main raw material.
- PVC gloves are classified as follows.
- 9-inch PVC glove
- 9-inch normal PVC glove
- 9-inch thin PVC glove
- 12-inch PVC glove
- 12-inch normal PVC glove
- 12-inch thin PVC glove
- 9-inch PVC glove
- Characteristics of PVC gloves.
- Low price, pigments can be added, bright colours.
- Comfortable to wear.
- Good airtightness, effectively prevents dust from emanating to the outside.
- Less elastic, easy to break (compared with latex gloves, nitrile gloves).
- PVC gloves are not resistant to corrosion and contact with corrosive substances is prohibited.
The role of dust-free gloves
People are seen as the largest source of contaminants within the clean room, with people contaminating up to 80% of the clean room so operators must ensure the cleanliness of the environment by wearing clean suits, gloves etc. As an item that comes into direct contact with the product, gloves are the most critical part of the entire protection system, ensuring that people do not contaminate the cleanliness of the key production process areas in the controlled environment, but also that they do not directly cause secondary contamination to the product.
The main micro-pollutants controlled in a clean room are: particles, ions, silicone oil etc. Different gloves are selected according to different requirements, the higher the clean room level, the higher the requirements for the gloves used.
Test methods for dust-free performance of dust-free gloves
②. Small differences between one laboratory and another during the test can result in large differences in the test fluid. It is therefore recommended to test several sets of comparative experiments in the same laboratory and with the same testing technique.
b) Clean the outer bag of the gloves with deionised water, dry the surface of the bag in a clean environment and open the bag with clean stainless steel scissors.
c) Use clean tweezers to remove one glove at a time.
Note: If the product is to be used for several days after unpacking, seal it in a clean bag.
d) Place the removed glove in a beaker. Pour 750 ml of deionised water into the glove and allow the overflow to flow
in the beaker so that the glove is completely submerged. The finger gloves are tested in the same way as the gloves, by immersing them in 750 DI water and recording the volume of water added, Vs.
e) Place the beaker with the glove or finger glove on a horizontal rotator and rotate at 150 r/min for 10 minutes.
f) Switch off the apparatus and remove the beaker.
g) Remove the glove or finger cover from the beaker using clean tweezers and drip the water from the glove or finger cover into the beaker.
h) Count (test) the number of particles in the beaker for a given size range.
i) Accurately record the blank value before placing the sample.
j) Determine the area of the glove or finger glove using the method described in Appendix A.
k) Subtract the average blank value and record the number of particles per unit volume of glove or finger glove surface.
a) Liquid particle counter settings should follow the following.
- Sampling rate – using a calibrated flow sensor for sampling.
- Volume – 25ml (the exact sample volume should also be selected according to the different instruments).
- Count particles ≥ 0.5um, 1um, 2um, 5um, 10um respectively (some counters can also count particles smaller than 0.5um; so all tests should record ≥ 0.5um particle count.)
- Dilute the sample with water to the detection limit of the device and transfer to the beaker of the counter. Volume of sample transferred/total volume after dilution = dilution rate (DF).
- Stir the sample with a glass rod for 20 minutes to ensure that large particles can be separated before detection. Stirring should not create a centre; a centre can become entrapped in air and cause bias in the test.
- At the end of stirring 5 sets of data are measured, the first two sets are removed and the remaining 3 sets are averaged.
- Result = (average number of particles – average blank value) x volume x (DF) ÷ area.
- In the above equation: LPC’s are expressed in units of pcs/cm², sample’s and blank count results are expressed in units of pcs/mL. DF: Dilution factor. Area: the inner and outer area of the glove or the sum of the inner and outer areas of the ten finger gloves (cm²).
②. Samples need to be packaged.
③. The unit of weight must be accurate to 0.01mg.
4. Test procedure.
b) Fill 500 ml of extraction solution into a measuring cylinder (glove extraction solution is solution A)
c) Unwrap a bag of product with clean scissors and use forceps to clip a sample to the beaker.
Note: If the product is to be used for several days after unpacking, reseal or pack in a clean bag.
d) Using clean stainless steel tweezers, take a glove or 10 finger covers and place in a wide mouth beaker, keeping the mouth of the glove or finger covers open, and add the extraction solution.
e) Pour 250ml of the extraction solution into the inside of the glove, making sure that the solution can be washed over the entire inner surface of the glove. Place the glove in the beaker and pour the remaining 500ml of solution into the beaker (in the event of leakage, a new sample should be taken for testing). The finger gloves should be unfolded and tested and each finger glove must contain the extraction solution.
f) Place a suitable lid on both the beaker containing the sample and the empty beaker.
g) Gently rotate the beaker with the sample for 10 s to wet the surface of the glove or finger cover. Rotate the blank beaker in the same way.
h) Samples and blanks are allowed to stand at (22±5)°C for 10-20min.
l) It is usually necessary to gently swirl the sample container and the blank solution beaker once for 10s.
j)Remove the lid of the sample beaker and the blank beaker
k)Using clean forceps, clip out the finger cover or glove of the beaker and pour the water from the finger cover or glove into the beaker.
l) Re-cover the beaker from which the sample was taken and the blank beaker and set aside.
m) Store the sample beaker and blank beaker until the test begins. Before testing, gently swirl the beaker and shake the liquid for 10s to mix the liquid.
n) Perform the test using liquid phase ion chromatography. Results are given in units of ug/g or ug/cm². Report the weight of the sample by recording the surface area. The area of the glove or finger cover needs to be recorded inside and outside, expressed in cm².
2. Test equipment and materials: analytical balance, evaporation dish, beaker
3. Test environment: Clean room or clean bench with air up to ISO Class 5.
4. Test procedure.
a) Wash the dish used for evaporating the sample and for the blank test and dry it at 110 (±10) °C (230 [±18] °F) for 1 hour.
b) Place the evaporated dish in a desiccator and dry to room temperature.
c) Weigh the evaporated dish on an analytical balance to an accuracy of 0.01 mg.
d) Weigh the gloves or 10 finger gloves on an analytical balance to 0.01mg.
e)Evaporate the sample solution and the blank solution until the remaining amount of solvent is suitable for the evaporation dish.
f) Transfer the evaporated sample solution quantitatively to the evaporation dish. Wash the beaker with the extraction solvent, transfer the cleaned solvent to the evaporation dish and do so 3 times.
g) Evaporate at a temperature 10°C (18°F) below the boiling point of the extraction solvent. evaporate the remaining residue at 110°C (±10)°C (230[±18]°F) for at least 1 hour.
h) After the evaporated dish has cooled to room temperature in a desiccator, weigh it to the nearest 0.01.
i) Calculate the amount of residue using the initial weight and the final weight
j) The results are expressed in ug/g or ug/cm2. Data to be recorded include the weight of the sample, the surface area of the sample.
TNVRm = (Wf – Wi) x 106 ÷ Wg
Where: TNVRm = unit weight of permanent non-volatile residual material (ug/g)
Wf = weight of evaporation dish and sample after the experiment (g)
Wi = weight of the initial evaporation dish (g)
Wg = weight of gloves or 10 finger covers (i.e. weight of sample g) and
TNVRa = (Wf – Wi) × 106 ÷ A
TNVRa = permanent non-volatile residue per unit area (ug/cm²)
A = area of the glove or 10 finger covers (i.e. total internal and external area of the sample cm²)
To accurately calculate the amount of particulate matter per unit area, or the amount of non-volatile residue per unit area, it is necessary to know the exact area of the glove or finger cover.
Scissors or sharp knife, analytical balance (accuracy not less than 0.01g), ruler
At least 3 test samples of the same size and from the same batch.
Cut off the rolled edge of the glove or finger cover, weigh the glove or finger cover to an accuracy of 0.01g and calculate the average weight.
Cut a piece of material not less than 25 cm² from the palm of the glove next to the fingers (or the back of the hand if there is a pattern on the palm). Accurately measure the area of the cut material. For finger covers, unroll as much as possible, cut off the rolled edge and cut along the length, taking 25cm² of material.
Weigh the cut pieces to the nearest 0.01g
The area of the inner and outer surface of the sample is calculated as follows.
A = 2 x (Wg ÷ Wc) x Ac
A = area of the inner and outer surface of the sample, in cm²
Wg = weight of the glove, in g
Ac=area of the cut off sample in cm²
Wc = weight of the cut off section, in g
The area accuracy is 10cm², if the area is calculated to be 1234.56cm2, then the report is 1230cm²


Leave a Reply
Want to join the discussion?Feel free to contribute!